Hosting your own instance of WordPress is hard. Installing it straight onto your server requires a bunch of complicated steps that are difficult to follow and result in obscure errors. Thankfully Docker exists, and so does an official image for WordPress. In this article, I'll go through the steps I followed to set up my own instance of WordPress with Docker on a Linux-based virtual server.

A couple of years ago, in the height of COVID - yes, it's been a couple of years already - I found myself with a lot more free time, and I wanted to start a blog as a side project. I had a couple of requirements:
- I wanted full control of the underlying infrastructure,
- I wanted to keep costs low,
- and I wanted the site to look good without having to spend too much time fiddling with CSS.
After a bit of research, I found that WordPress is open source, and I could host it on a VPS (Virtual Private Server). A Linux-based VPS is pretty cheap, so this was the option that I went with. Little did I know about the headache that was coming my way.
The Challenges of WordPress without Docker
WordPress instances are arduous to set up
The easy part was provisioning a VPS with a popular hosting provider. After a few minutes, I had set up a VPS and had an SSH session open. The next step was to install WordPress and its dependencies like MySQL. This process was long and complicated, leaving me very frustrated. Dependencies wouldn't play nicely together, there were a ton of steps to follow and hoops to jump through, and there were lots of obscure errors that I couldn't wrap my head around.
There is also a big lack of reliable and up-to-date resources online. Most cover the steps that would have been relevant a few years ago but are outdated now. In the end, I got it right, but the prospect of maintaining all this led to me dropping the idea and moving on.
Hosted instances lack control
The obvious other option here was to set up WordPress using a hosted instance. Essentially, a company will manage the underlying server and your instance of WordPress for you. All you need to do is log in to your site and start building.
This is a great option for people who are less technical or who don't care about losing control of the underlying infrastructure. It can be pretty cost-effective too, if your site remains small. Scaling a hosted instance, however, is more pricey than deploying on your own infrastructure.
I didn't go with this option because, as stated above, maintaining control of the underlying infrastructure is important to me.
Hosting your own instance of WordPress with Docker
This was one of those instances where a solution found me instead of me finding the solution. A few years had passed since I had dropped the idea of using WordPress, and I found myself using Docker a lot for work. While lying in bed one night, I was thinking about the problem I had with hosting my blog and thought to myself, "surely someone must have put together a Docker image for WordPress by now". A quick look at Docker hub confirmed my suspicion and piqued my interest, and so I was off, trying to host my own instance of WordPress again.
Docker is a containerisation tool used to compartmentalise applications inside their own virtual machine. Essentially, your application lives in a bare-bones virtual machine, allowing the environment that the application runs in to remain constant. This helps to eliminate the whole "it works on my machine" problem. It also gives us the freedom to control the infrastructure and environment that our blog is running in. The kicker here is that Docker is free for personal use and doesn't add any costs to your hosting.
Once I'd decided on hosting my WordPress instance with Docker, I needed to choose a VPS. The cheapest option here is usually a Linux-based VPS, and that's what I decided to use. Here are the things which I found useful to have or to know before getting started:
- A Linux-based VPS, if you'd just like to follow this tutorial for fun, then a Linux virtual machine will also work. Here's a guide to installing SSH on your virtual machine.
- An understanding of what Docker is and what it does. Here is a link to their docs.
- An understanding of how SSH works.
- Some knowledge of Linux console commands.
Step 1: Provisioning a VPS
*If you are using a virtual machine, you can skip this step.
There are tons of providers out there who you can host a VPS with. All of the major cloud providers (Azure, AWS, Google Cloud, Alibaba cloud etc.) provide these services. They are usually not the cheapest option, though, and it might be better to go with a smaller provider like Digital Ocean, DataKeepers, Hostinger, GoDaddy or any other small provider you find trustworthy.
I went with DataKeepers since I had used them before. They are well-priced, and their customer support is great - I once locked myself out of my VPS, and they were a massive help in getting that resolved for me. DataKeepers make the provisioning process quite simple. All I really had to do was go to their site, sign up, choose the specs for my VPS, set up the configurations (like the SSH credentials mentioned below), and make a payment. My VPS was available within the hour, and I was good to get going.
You will need to set up SSH credentials during this process. It's very important that you use a very strong and unique password here or, even better, configure an SSH key. Virtual servers are a prime target for hackers.
Step 2: Installing Docker
Start by SSHing into your virtual server. Once you have a shell open, you are going to need to run a couple of commands to install Docker. Run them in the following order:
a. First off, we need to make sure there are no previous versions of Docker installed. Run:
- sudo apt-get remove docker docker-engine docker.io containerd runc
b. Next up, we are going to make sure the apt (a Linux package manager) package index is up-to-date and allow apt to use repository over HTTPS.
First run:
- sudo apt-get update
Then you'll need to run:
- sudo apt-get install \

    ca-certificates \

    curl \

    gnupg \

    lsb-release
c. Next up, we are going to set up the Docker repository on your VPS. First, we need to add Docker's GPG key to your VPS with two commands:
- sudo mkdir -m 0755 -p /etc/apt/keyrings
And
- curl -fsSL https://download.docker.com/linux/ubuntu/gpg | sudo gpg --dearmor -o /etc/apt/keyrings/docker.gpg
d. Once those have been completed, we can run the following command to set up the Docker repository:
- echo \

  "deb [arch=$(dpkg --print-architecture) signed-by=/etc/apt/keyrings/docker.gpg] https://download.docker.com/linux/ubuntu \

  $(lsb_release -cs) stable" | sudo tee /etc/apt/sources.list.d/docker.list > /dev/null
Now that we have the Docker repository set up, we are going to go ahead and install the Docker engine. First up, let's make sure that the apt index is up-to-date again. I know this is repetitive, but it's important to do this because we have added new packages. You can rerun this command:
- sudo apt-get update
Side note: I ran into errors when trying to update the package index. Running the following two commands was the fix that worked for me.
- sudo chmod a+r /etc/apt/keyrings/docker.gpg

- sudo apt-get update
e. Once the package index is up-to-date, it's time to install Docker and its related dependencies. This can all be done with this one command:
- sudo apt-get install docker-ce docker-ce-cli containerd.io docker-buildx-plugin docker-compose-plugin
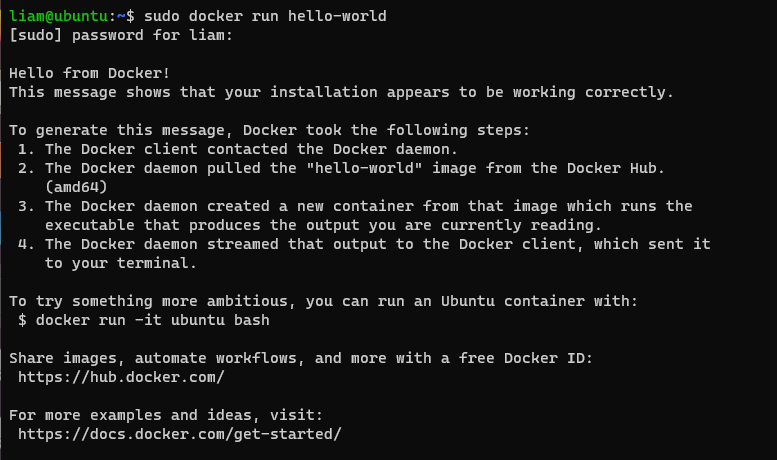
f. The last step is to ensure that everything works by running the Docker Hello-World image. For that, you can run
- sudo docker run hello-world
If everything went according to plan, you should see this output:
Step 3 - Creating your docker-compose file
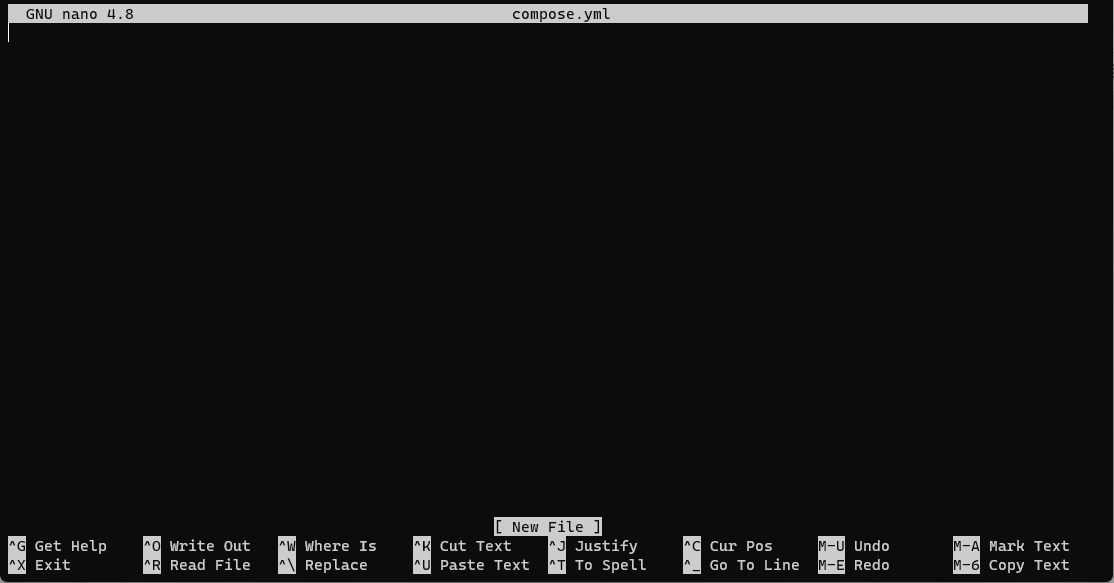
In order to create our docker-compose file through the terminal, we are going to use a Linux tool called nano, which allows us to create and edit files in a terminal environment. You are going to want to navigate to a directory where you want to store your file. In my case, I will be using /Documents/WordpressSite. Once you have navigated to this directory, you can use nano to create and open your compose file. Run this command, replacing filename with the name of your file. I like to just call it compose.
- nano filename.yml
Once open, it should look something like this:
Now we can get to creating our YML file. I would recommend the template below, which comes from the documentation for the official Docker image. I have added comments explaining what everything does. Make sure to replace all the necessary values with your own where indicated.
version: '3.1'

services: #Sets up the services that we will need

  wordpress: #Our instance of wordpress

    image: wordpress

    restart: always

    ports:

      - 8080:80 #sets up a port forwarding rule so we can access our container

    environment:

      WORDPRESS_DB_HOST: db

      WORDPRESS_DB_USER: exampleuser #Add a username here, this should match MYSQL_USER below

      WORDPRESS_DB_PASSWORD: examplepass #Add a **strong** password, this should match the MYSQL_PASSWORD below

      WORDPRESS_DB_NAME: exampledb #Add a db name, just using "Wordpress" is a good option. This should match MYSQL_DATABASE below

    volumes:

      - wordpress:/var/www/html

  db: #The database image that wordpress is going to make use of

    image: mysql:5.7

    restart: always

    environment:

      MYSQL_DATABASE: exampledb #Set to same value as WORDPRESS_DB_NAME

      MYSQL_USER: exampleuser #Set to same value as WORDPRESS_DB_USER

      MYSQL_PASSWORD: examplepass # Set to same value as WORDPRESS_DB_PASSWORD

      MYSQL_RANDOM_ROOT_PASSWORD: '1'

    volumes:

      - db:/var/lib/mysql

volumes:

  wordpress:

  db:
Once you have copy pasted this into nano, you can press CTRL+X to close nano and select Y to accept changes and then Enter to accept the file name. Just like that, we have our Docker compose config done!
Step 4 - Running docker-compose to start up your site.
Now we are pretty much good to go. All we need to do is run docker-compose to start up our site. In the same directory as where you created your docker-compose file, you are going to want to run the command below, again replacing filename with whatever you named your Docker file.
- docker compose -f filename.yml up -d
The -d option here means that it will run in the background so that when we close our SSH session we don't stop our containers. If you want to see output from the compose command then you can remove this, but once your SSH session is closed, your containers will stop as well.
Once this is complete, you can run:
- docker ps
To check that your containers are running. If they are, your output should look something like this:

Step 5 - Accessing your WordPress admin page
Now that our containers are up and running, we can access our admin page. You can do this by opening your browser of choice - Firefox for the win - and typing in your-vps-ip:8080. Replace your-vps-ip with the actual IP address of your VPS. In my case, this is the IP of my virtual machine and would be 192.168.21.128:8080.
If everything went according to plan, you should be greeted by this page:
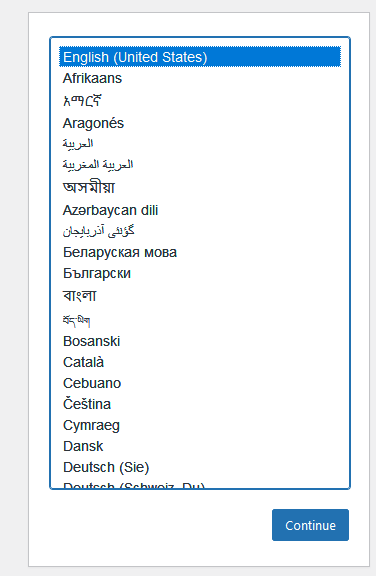
From here, you can select a language and follow through with the rest of the config pages as follows.
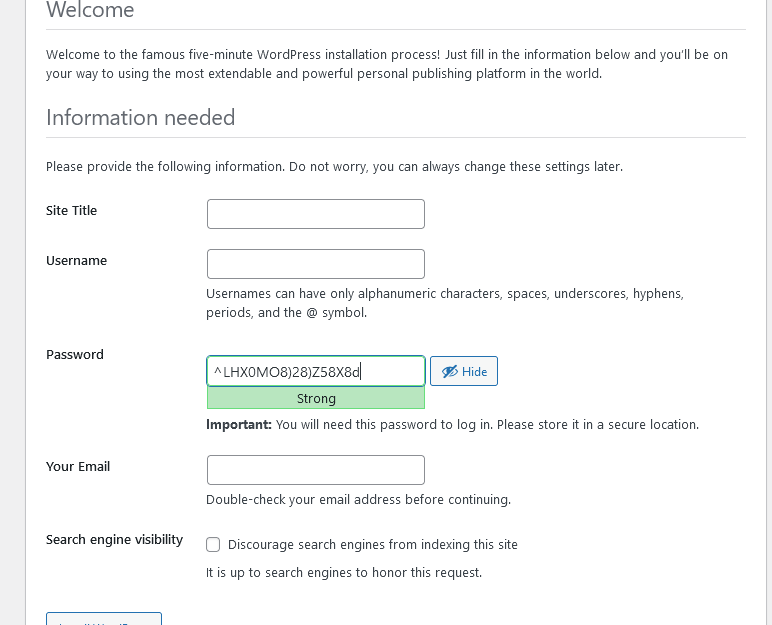
Here you will set up some basic details about your admin profile and your site. Remember to use a strong password!
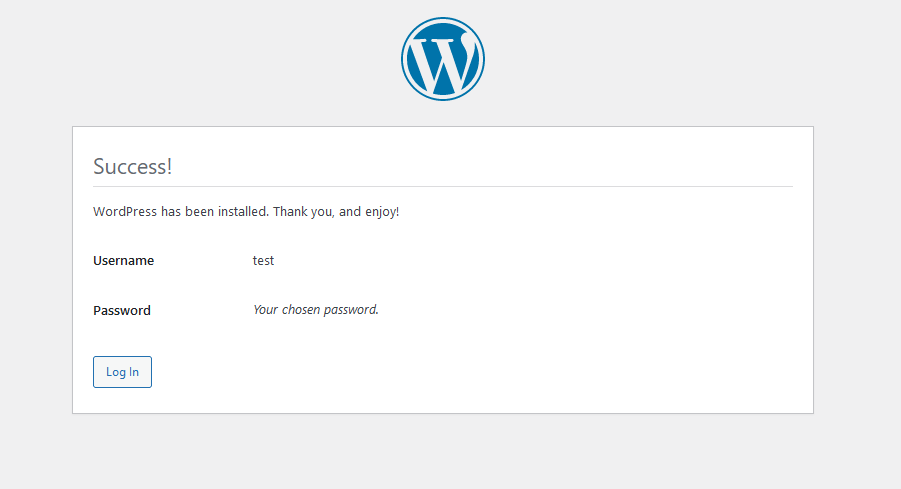
You should be greeted by a success page if everything went well. You can proceed to the login page and log in to your site.
Once your details are verified, you will be taken to your admin dashboard:

Time to start building your blog! If you are unfamiliar with WordPress, now might be a good time to grab a YouTube tutorial so that you can get an understanding of how to build your site. Here is one you might find useful.
Conclusion
Just like that, I had my own instance of WordPress running on infrastructure that I control! I found this process really interesting and exciting. Finding a solution to the problem that had been bothering me for so long was really satisfying. I'm currently in the process of building my website, and having used WordPress-hosted instances in the past, I must say the site development experience is identical. But knowing that I have control of the infrastructure really puts my mind at ease as I can scale and make changes when I want or need.
Where do you go from here? My next steps were to set up some kind of HTTP server using something like Nginx or Apache. I went with Nginx because it is versatile and very configurable. You can find their documentation here.
I also want to buy a domain and set it up to route to my VPS. I find it's easiest to buy a domain through your hosting provider - otherwise, you could buy it through a company like namecheap. Another benefit of hosting your own site is that you don't have to buy a domain right away. You can keep things lean and validate or brainstorm your idea, and when you are ready, you can buy your domain and share your creation with the world. In the past, I have found this article on how to route your domain to your VPS useful.
Liam Baisley is a young and enthusiastic Software Engineer who kick-started his career as a consultant at Dariel Software and is now freelancing while traveling. Liam has a passion for Cloud Computing and security, and spends his free time developing these skills. He hopes to one day own his own company where he can leverage technology to make an impact on his community.
Read More
- How to use reader macros to enhance Lisp's expressive power
- How I Collaborate with AI to Become a More Efficient Developer
- How Developers Use AI to Ramp up in Their Role