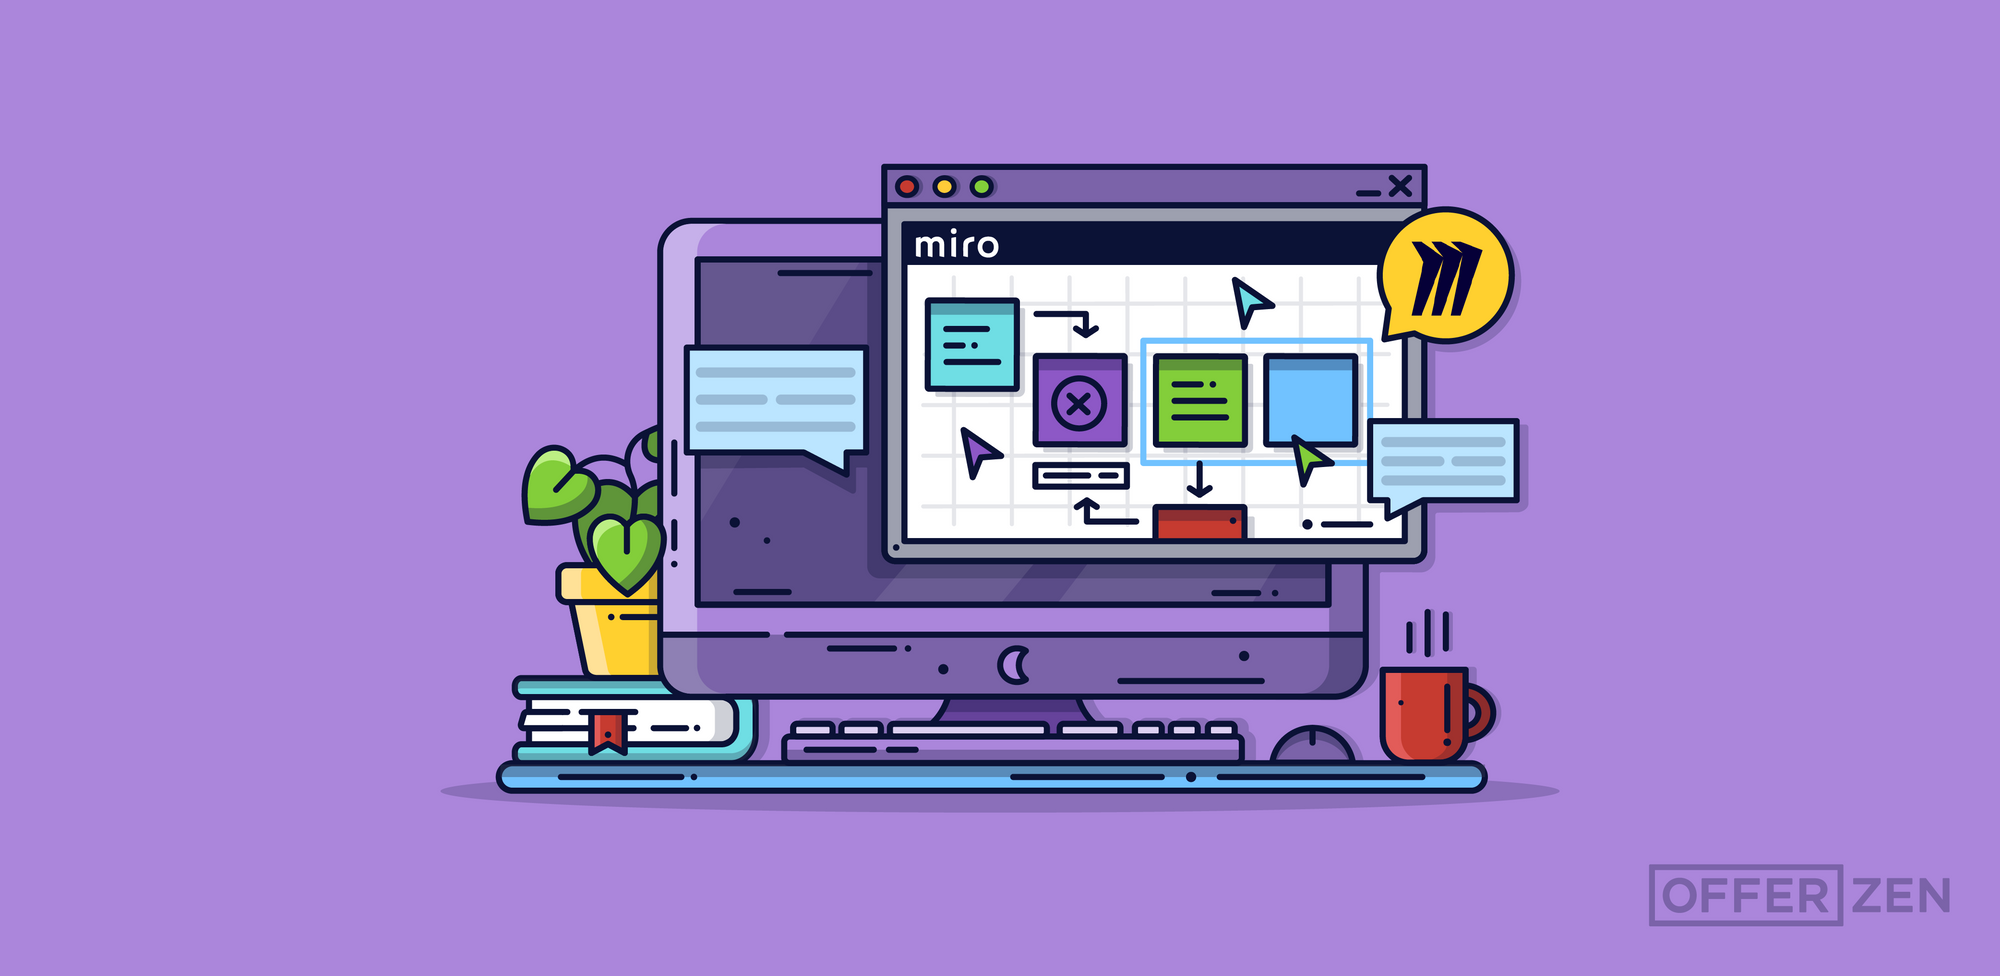
Since we’ve gone fully remote, the OfferZen team has started using the digital whiteboard tool, Miro, a lot more. It’s reasonably priced and allows for seamless collaboration. So far, we’ve found it particularly useful for workshopping ideas, mapping out systems, and drafting delivery plans. Here are a few tips to get you started in this video tutorial.
Tip 1: Bulk create sticky notes [00:53]
- If you’ve got a list of items in a spreadsheet and you want people to be able to categorise or prioritise those items during an online workshop, you can convert it instantly into a set of sticky notes.
- Copy the entire list in Sheets, then return to Miro and paste it. Each cell will be shown as a separate sticky note.
Tip 2: Change the shape of your sticky note [01:19]
- You can also easily transform each sticky note into any shape if you don’t want them as the standard square. To do this, either select an individual note, or a group of them, and from the pop-up that appears, select the little square on the left and choose whatever shape suits you.
- There are a whole bunch of shapes to choose from, including mini kanban cards, which expand when you click the arrow in the top right corner, allowing you to add extra notes.
Tip 3: Add tags to your sticky notes [01:43]
- You can add tags to help further organise your notes by selecting an individual sticky and clicking on the tag icon that appears in the pop-up.
- You can create a new tag by entering a new name at the top, or you can choose from the tags you’ve already created for the board.
Tip 4: Seamlessly export your organised stickies to CSV [01:56]
- Once you have your stickies organised as you want them, you can select a group and export them to CSV by clicking on the three dots at the far right of the pop-up menu.
- This can be useful if you want a copy of them in another tool, like Trello or Notion.
Tip 5: You can do ‘voting’ to keep things tidy [02:12]
- Voting is a key technique for groups doing ideation and prioritisation.
- To run a vote, select the ‘thumbs up' from the icons at the bottom left of the screen. This opens up a window on the left of the screen where you can name the session. You can also set a duration and the number of votes each collaborator has.
- When the time is up, Miro calculates the totals and shows the objects in a list, with the highest scorers at the top.
Tip 6: You don’t need to screen share when using Miro [02:56]
- Because multiple people can access the board at the same time, and you can see where everyone’s mouse is, you can just ask all your participants to open the board on their own device and everyone can follow along and contribute right there in Miro. This is one of our favourite features because it allows for much more engaging meetings.
Tip 7: Every object on the board has a hyperlink of its own [03:17]
- To access this link, select an object and click on the three dots that appear on the far right of the pop-up tool bar.
- Select the ‘copy link’ option.
- You can now paste the link anywhere – Slack, for example – and it’ll take you directly to the original item.
Tip 8: It’s great for quick design fix-ups [04:21]
- When you want to communicate visual ideas quickly, you can build a basic design on the board itself.
- For example, we wanted to change how some copy and a button on the OfferZen platform looked, so our designer added some blocks on the board to show where they wanted everything to sit and the developer working on the front-end had an immediate understanding of what to implement.
- Note: The board doesn’t allow for very complex design work so think of it more as a sketching tool. From what we’ve found, there are a limited number of fonts, and while you can do grouping, you can’t do layers.
Tip 9: You can use it on an iPad [05:22]
- If you miss the crazy bad writing experience of a real whiteboard, you can select ‘line drawing’ mode and scribble on the board freehand.
Tip 10: Use frames to keep your content organised [08:09]
- Because using these boards is so much fun, it’s easy to get carried away dragging and dropping images and decorating them with stickies, among other things. To mitigate the chaos, we’ve found frames to be useful for storing related content.
- You can easily name the frames too to further help with organisation.
- You can also organise a workshop using a series of frames, with one exercise in each frame.
A note on safety
Some organisations might have reservations about confidentiality and don’t feel 100% comfortable uploading documents to the cloud. Very often, this shouldn’t be a concern because:
- The cloud is secure, with millions of businesses relying on it daily.
- Your whiteboards probably aren’t that interesting to competitors because, if we’re honest, they’re mostly scribbles and notes that only your team understands.
- If you’re careful not to store anything that is confidential, like customer details, then there’s nothing top secret to see.
- Don’t embed detail specification docs on the board. Instead, put a URL on them that points to something in a trusted location, like behind a firewall.
Our team has adopted Miro easily. We haven’t had to work hard to get buy-in from the team because of how intuitive it is and fun to use! As a bonus, here’s a template we made to make your retros using Miro more fun!